Driveway Sealing Cost: What It Includes, When to Do It, and When to Repair First
Driveway sealing costs $0.20-$0.50 per sq ft ($100-$250 for a typical 500 sq ft driveway DIY, $300-$600 professional). Seal every 2-3 years to prevent cracks and extend asphalt lifespan by 15-20 years.
Asphalt deteriorates through two primary mechanisms: oxidation from UV exposure, which makes the binder brittle and causes surface cracking; and water infiltration, which penetrates surface cracks, expands when it freezes, and widens those cracks into structural failures (similar to how moisture behaves in foundation walls; see our basement waterproofing cost guide). Sealing slows both processes by filling surface pores and blocking UV penetration.
The important limitation: sealing is maintenance for structurally sound asphalt, not repair for damaged asphalt. A driveway with alligator cracking (interconnected surface fractures), deep potholes, or sunken sections needs patching or resurfacing before sealing adds any value. Applying sealer over structural damage postpones the repair conversation without addressing the underlying problem.
DIY sealing costs $100–$250 in materials for a 500 SF driveway; professional service runs $300–$600 including cleaning and crack filling. Seal every 2–3 years once asphalt has cured (minimum 6–12 months after installation). New asphalt must cure before first sealing. Cracks wider than 1/4 inch need rubberized filler before sealing. Coal tar sealers are restricted or prohibited in some states, confirm local regulations before purchasing.
Cost ranges from HomeCalc Pro 2026 installer data. Application guidelines per NAPA and sealer manufacturer specifications.
What this article covers:
- What sealer does and what it doesn't fix
- DIY vs. professional: cost breakdown and what's included
- How to assess your driveway's condition before deciding
- Step-by-step DIY application sequence
Driveway Sealing Costs: DIY vs Professional
Sealing costs $0.20-$0.50 per square foot. For a typical 500 sq ft driveway (10x50 feet or equivalent), expect:
- DIY: $100-$250 in materials (sealer, crack filler, applicator tools)
- Professional: $300-$600 (includes cleaning, crack filling, and two coats)
DIY saves 50-60% but requires 4-6 hours of labor plus 24-48 hours of cure time. Professional services complete the job in 2-3 hours and often include a warranty on the work.
What Driveway Sealer Actually Does
Asphalt sealer is a protective coating, typically coal tar or asphalt emulsion-based, that bonds to the surface of your driveway. It serves three functions:
- Waterproofing: Sealer fills surface pores and micro-cracks, preventing water from penetrating. Water is asphalt's #1 enemy, when it freezes, it expands and creates larger cracks.
- UV protection: Sunlight oxidizes asphalt, causing it to fade and become brittle. Sealer blocks UV rays and slows this aging process.
- Aesthetic restoration: Fresh sealer restores the deep black color that makes a driveway look new. This isn't just cosmetic, a black driveway absorbs less heat than gray, weathered asphalt.
Sealer doesn't fix structural problems. It won't level a sunken section or repair a pothole. But it does prevent minor surface deterioration from becoming major damage.
Assessing Your Driveway Before Sealing
Sealing is appropriate for driveways with surface oxidation (gray color, minor hairline cracks) that remain structurally intact. Walk the driveway and look for:
- Hairline cracks (under 1/4 inch): Can be sealed over directly. Sealer fills surface pores and slows widening.
- Medium cracks (1/4 to 1/2 inch): Fill with rubberized crack filler before sealing. Let cure per manufacturer instructions before applying sealer over the top.
- Wide cracks or potholes (over 1/2 inch or any potholes): Require cold-patch or hot-mix asphalt patching before sealing. Sealing over these without repair does not provide structural benefit. (For concrete driveway repairs, you can estimate concrete patching volumes with our concrete calculator or learn how to compute yardage with our concrete calculation guide).
- Alligator cracking (interconnected fractures covering large areas): Indicates base failure. Sealing is not appropriate: the affected area needs removal and reconstruction of the base and surface.
New asphalt installations should not be sealed for at least 6–12 months after placement. Fresh asphalt needs time to cure and off-gas petroleum components; sealing too early can trap solvents and interfere with curing.
Worth Knowing
Coal tar sealers are more durable and resistant to oil/gas stains but have environmental concerns in some states. Asphalt emulsion sealers are more eco-friendly but need more frequent reapplication. Check local regulations: some areas (like parts of California and Minnesota) restrict coal tar products.
DIY Sealing: Step-by-Step
If you're tackling this yourself, here's the proper sequence:
- Clean thoroughly: Pressure wash the entire driveway. Remove oil stains with degreaser. Let dry completely (24 hours minimum).
- Repair cracks: Fill cracks 1/4 inch or wider with rubberized crack filler. Let cure per manufacturer instructions (usually 4-8 hours).
- Edge the driveway: Use a brush to apply sealer along edges, around drains, and near the garage where a squeegee won't reach.
- Apply first coat: Pour sealer in a line across the driveway. Use a squeegee or paint brush to spread it evenly. Work in 2-3 foot sections.
- Let dry: Wait 4-8 hours (or per product instructions) before applying the second coat.
- Apply second coat: Apply perpendicular to the first coat for even coverage.
- Cure: Keep vehicles off for 24-48 hours. Full cure takes 72 hours.
One 5-gallon bucket covers 400-500 sq ft for two coats. Most driveways need 1-2 buckets. Buy extra, running out mid-job is frustrating.
Hiring a Professional: What to Expect
Professional services typically include:
- Power washing and debris removal
- Blowing out cracks with air compressor
- Applying crack filler to all cracks 1/4 inch or wider
- Two coats of commercial-grade sealer
- 24-48 hour cure time before you can drive
Get quotes from 2-3 contractors. Ask what brand of sealer they use, whether crack filling is included (some charge extra), and if they offer a warranty. A typical warranty is 1-2 years against peeling or excessive wear.
The Cost of NOT Sealing
Unsealed asphalt oxidizes and becomes brittle within 2-3 years. Surface cracks form, allowing water to penetrate. When that water freezes, it expands, widening cracks and creating potholes. Within 10-12 years, an unsealed driveway may need major repairs or full replacement.
A sealed driveway, maintained every 2-3 years, lasts 20-25 years before needing major work. The math is straightforward: $150 every 3 years = $1,000 over 20 years. Compare that to $5,000-$8,000 for driveway replacement at year 12, and the investment pays for itself several times over.
| Project Approach | Estimated Cost | Materials Used | Prep Work Level |
|---|---|---|---|
| DIY (Basic Emulsion) | $80 - $150 | Asphalt emulsion sealer, squeegee | Low-Moderate (Sweeping) |
| DIY (Premium Gel) | $150 - $250 | Coal-tar free latex gel, crack filler | Moderate (Pressure wash) |
| Professional Spray | $250 - $450 | Commercial grade emulsion | None (Included) |
| Professional Squeegee | $350 - $600 | Heavy coal-tar or polymer mix | None (Includes crack routing) |
Common Mistakes to Avoid
- Sealing over damp asphalt: Moisture trapped under sealer causes bubbling and peeling. Wait 24-48 hours after rain or washing.
- Applying in hot direct sunlight: Sealer dries too fast, leaving lap marks and uneven coverage. Work in morning or evening.
- Skipping crack repair: Sealer won't bridge gaps. Cracks will telegraph through the new coating within weeks.
- Driving on it too soon: Wait at least 24 hours, ideally 48. Fresh sealer is soft and will track onto tires and into your garage.
- Over-applying: Thick coats don't dry properly and stay tacky. Two thin coats beat one thick coat every time.
Research Citations & Verified Authorities
EEAT CompliantTo maintain absolute calculation integrity and trust, the structural lifespans, standard sizes, and pricing models in this guide are gathered from governing construction authorities and verified trade standards.
Recommended Guides
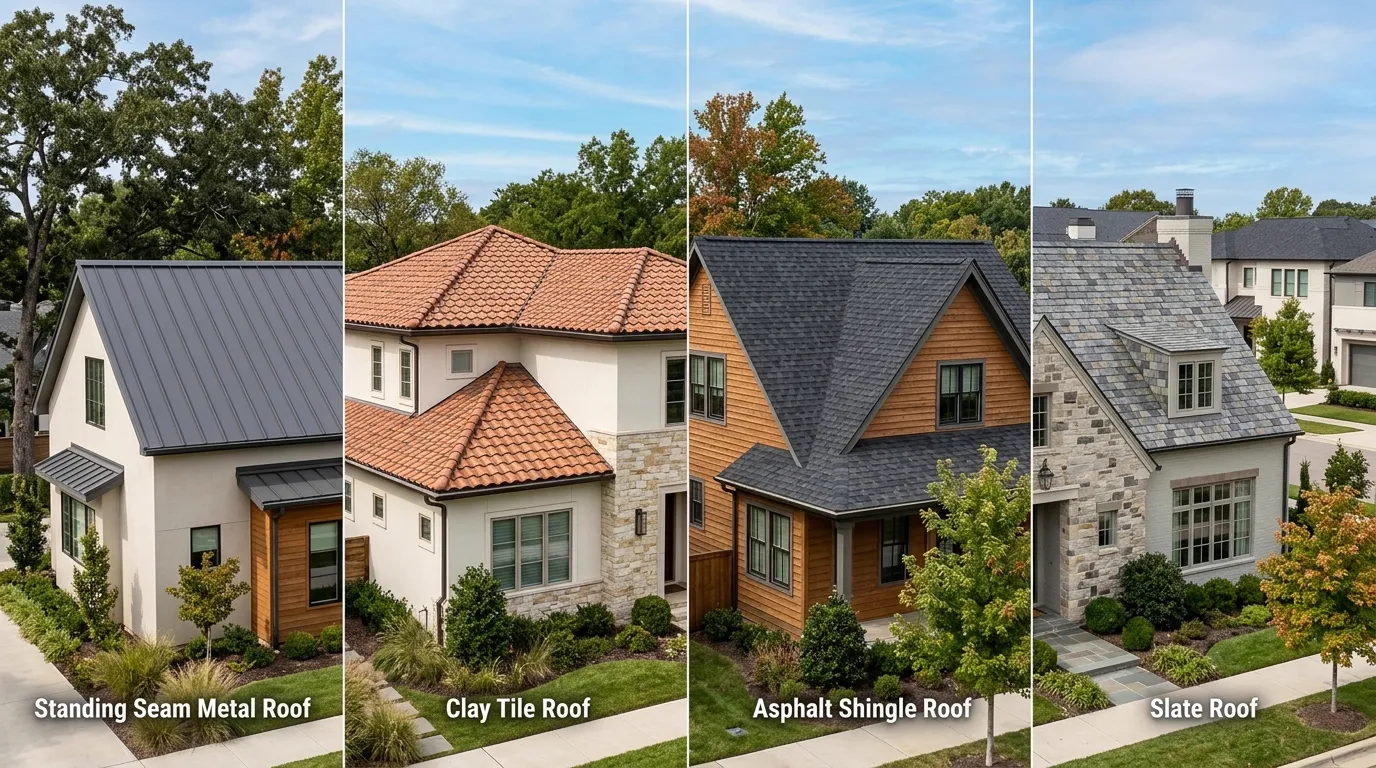
Roof Lifespan by Material: Asphalt, Metal, Tile, and Slate
Asphalt shingles, metal panels, clay tile, and natural slate each fail for different reasons and on different timelines. Here's what actually determines how long each material lasts in real conditions.
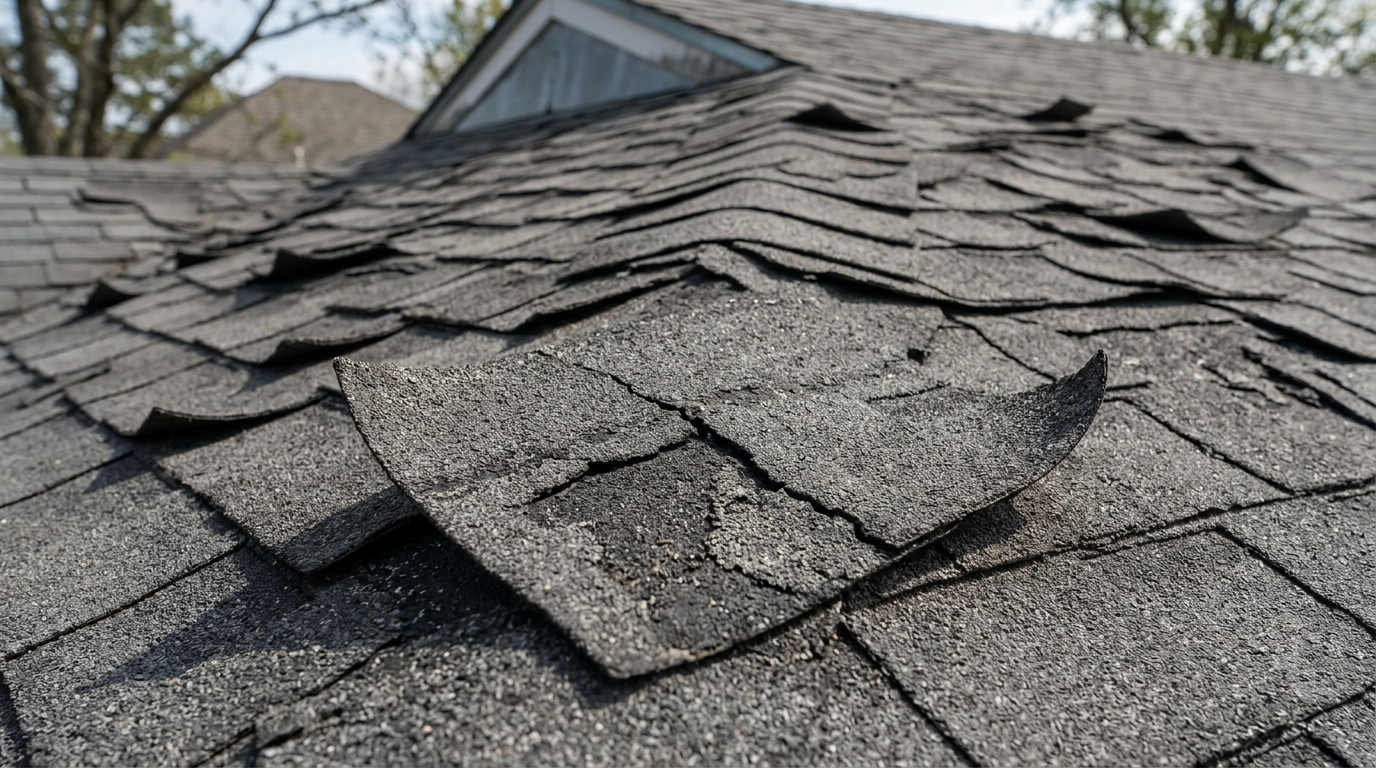
How to Tell If Your Roof Is Actually Failing
Curling shingles, granules in the gutter, light through the attic, learn which warning signs mean a repair can buy you time and which mean the clock has already run out.
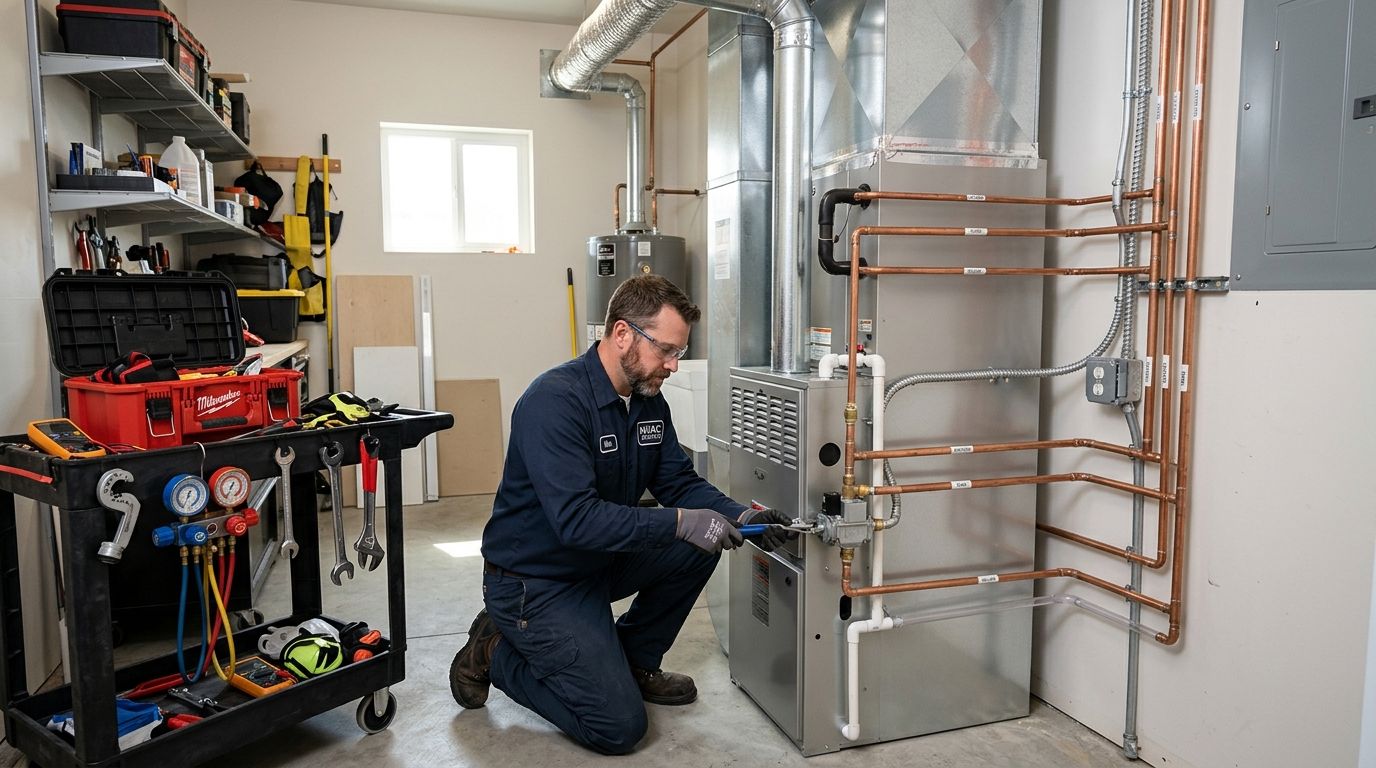
HVAC Replacement Cost: System Types, Sizing, and What Moves the Price
HVAC replacement runs $5,000–$14,000 for most homes in 2026. The price depends on system type, capacity, and ductwork condition, not just square footage. Here's what each decision costs.